Build Your Own Emergency Kit: A Step-by-Step DIY Guide
自分で作る緊急持ち出し袋
When a major earthquake or typhoon strikes, you may have minutes — not hours — to leave your home. A pre-packed emergency kit, often called a go-bag (非常持ち出し袋, hijō mochidashi bukuro), can mean the difference between a stressful scramble and a calm, orderly departure. This guide walks you through exactly what to include and how to assemble it yourself.
Store-bought emergency kits are convenient, but a DIY kit lets you tailor every item to your household: dietary needs, prescription medications, infant supplies, or accessibility requirements for elderly family members. It also costs less and gives you a better understanding of what you actually have.
What Goes in a 72-Hour Emergency Kit
The government of Japan recommends preparing supplies for at least 3 days (72 hours) of self-sufficiency. Below is a comprehensive checklist of items organized by category.
Water & Food
- Drinking water — at least 2 liters per person per day (total 6 L per person for 3 days)
- Compact emergency food rations — retort pouches, α-rice (alpha-mai), or energy bars
- Portable water purification tablets or a compact filter straw
- Manual can opener (if storing tinned goods)
Documents & Communication
- Copies of ID documents (マイナンバーカード, passport, insurance card) in a waterproof sleeve
- Emergency contact list printed on paper — do not rely solely on a smartphone
- Cash (small bills and coins) — ATMs may be offline for days after a disaster
- Battery-powered or hand-crank AM/FM radio for emergency broadcasts
First Aid & Health
- Basic first aid kit (see assembly guide below)
- At least a 7-day supply of any prescription medications (stored in original packaging)
- Spare eyeglasses or contact lenses and solution
- N95 or equivalent face masks (dust after earthquakes, mold after floods)
Light, Heat & Tools
- Waterproof LED flashlight plus spare batteries or a USB-rechargeable version
- Emergency thermal blankets (mylar) — lightweight and warm
- Work gloves — for moving debris without injury
- Multi-tool or Swiss Army knife
- Whistle — for signaling rescuers if trapped
Sanitation & Comfort
- Portable toilet bags or waste treatment powder (携帯トイレ)
- Wet wipes — a full pack, unscented if possible
- Change of clothes sealed in a zip-lock bag
- Rain poncho
Advertisement space — 728 × 90
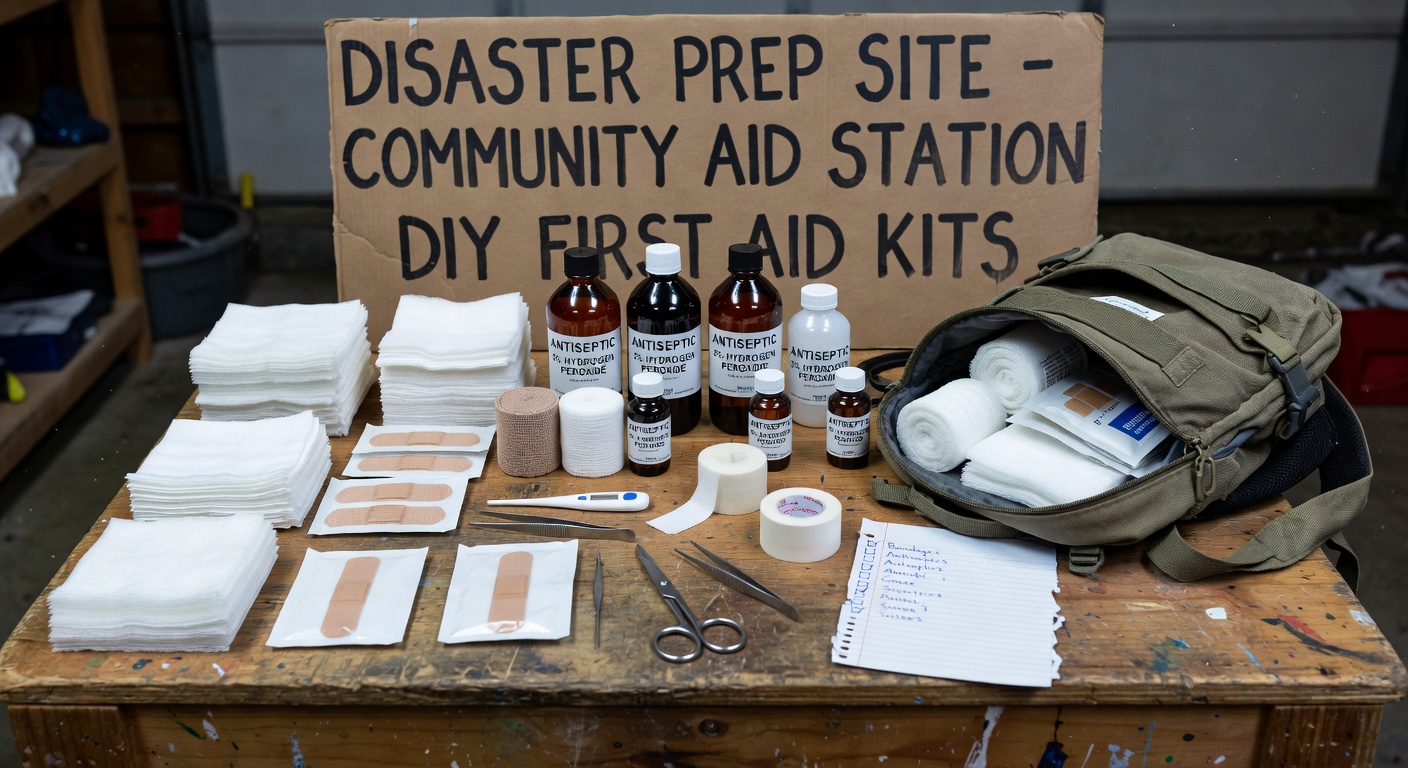
Step-by-Step: Assembling Your First Aid Kit
You can purchase a pre-made first aid kit or assemble one yourself. Building your own lets you add items for your specific needs and ensures you know what you have. Here is how to do it:
- Choose the right container. Use a waterproof hard-shell case or a heavy-duty zip-lock bag inside a soft pouch. Label it clearly in both English and Japanese: First Aid / 救急セット. Red or orange color helps you find it quickly in a dark bag.
- Stock wound care essentials. Include adhesive bandages (assorted sizes), sterile gauze pads (5 × 5 cm and 10 × 10 cm), rolled bandage (5 cm and 10 cm widths), medical tape, and antiseptic wipes or povidone-iodine swabs.
- Add cutting and fastening tools. Pack rounded-tip scissors for cutting bandages, and at least two pairs of disposable nitrile gloves. Tweezers are useful for splinter or debris removal.
- Include over-the-counter medications. Add acetaminophen (pain/fever), antihistamines (allergic reactions), antacids, and electrolyte powder sachets for dehydration. Keep these in their original labelled packaging.
- Add a cold compress and burn care items. Instant cold packs (shake to activate) are useful for sprains. Burn gel or non-adhesive burn dressings are important for kitchen or fire-related injuries during an emergency.
- Include a first aid reference card. A laminated quick-reference card (CPR steps, Heimlich maneuver, how to treat a sprain) is invaluable when stress makes it hard to think clearly.
- Check and refresh contents twice a year. Many medications and sterile dressings have expiry dates. A good routine is to check in March and September — which also aligns with Japan's disaster preparedness season (防災月間 in September).
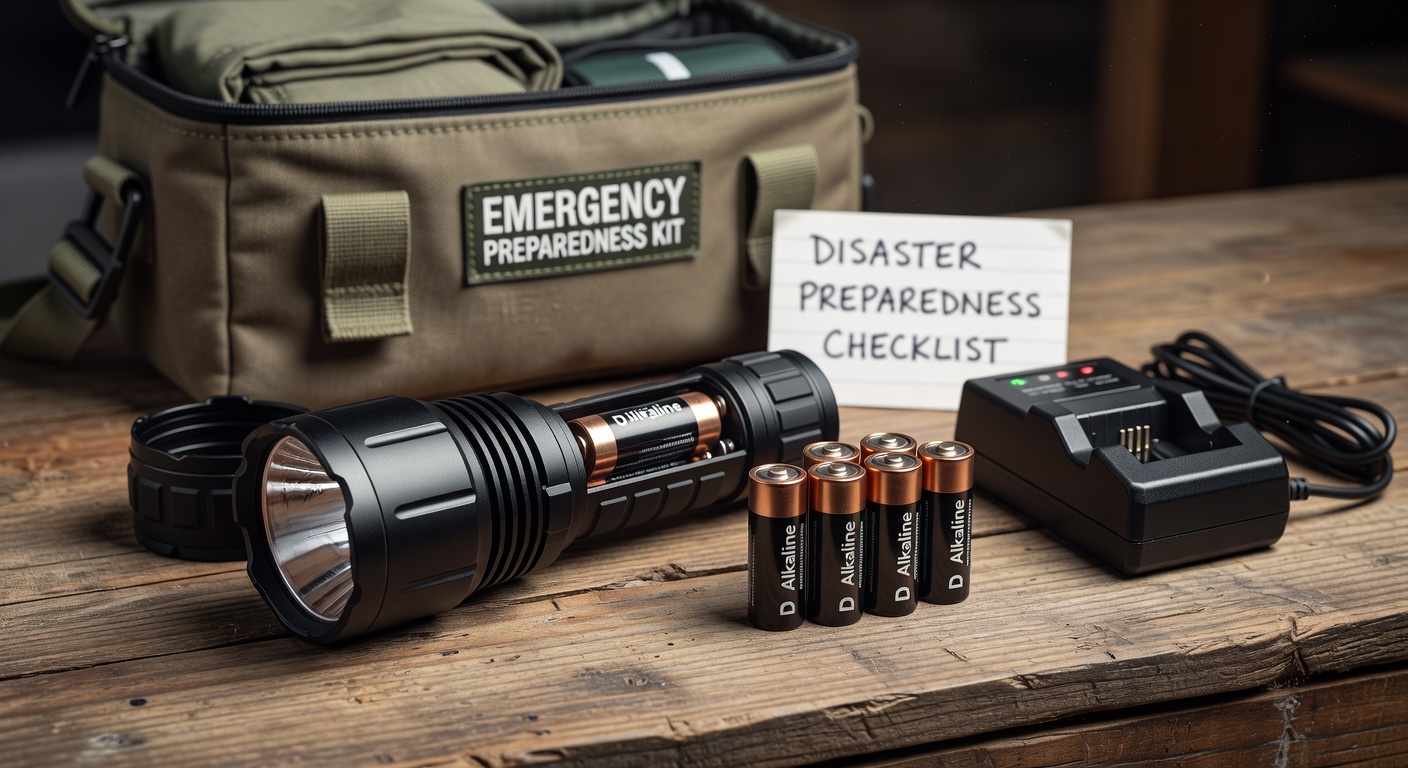
Flashlight & Lighting Essentials
Power outages are one of the most common consequences of major earthquakes and typhoons in Japan. A dependable lighting setup is not optional.
Primary Light: LED Flashlight
Choose a water-resistant LED flashlight rated at least IPX4. Look for models that accept AA batteries — widely available at convenience stores even during shortages. Keep a set of spare batteries sealed in your bag.
- Minimum 200 lumens output
- Water-resistant (IPX4 or higher)
- AA or AAA battery powered
- Check batteries every 6 months
Backup Light: Lantern or Headlamp
A portable lantern provides hands-free ambient light for shelter situations. A headlamp is ideal for tasks requiring both hands. Consider a solar-rechargeable or hand-crank model as a backup with no battery dependency.
- Headlamp frees both hands for tasks
- Collapsible lanterns save pack space
- Solar charging eliminates battery worry
- Glow sticks as low-cost tertiary backup
Bag Selection Tips
The container matters as much as the contents. Here is what to look for when choosing your go-bag:
- Capacity: 25–35 liters — large enough for 72 hours of supplies, small enough to carry quickly and fit in a locker
- Water-resistant material — nylon or polyester with a DWR coating, or include an internal dry bag
- Padded shoulder straps and a hip belt — distributes weight across the body; critical for older users or long-distance evacuation on foot
- Multiple compartments — separate pouches for documents, food, first aid, and tools help you find items without unpacking everything
- High-visibility color or reflective strips — orange, red, or yellow bags are easier to spot in debris or low light
- Attach a luggage tag — write your name, blood type, and emergency contact on a weather-proof tag inside and outside the bag
Refresh Your Kit Annually
Set a calendar reminder each September (防災の日 — Disaster Prevention Day is September 1st) to open and inspect your kit. Replace expired food and medications, test your flashlight and radio, and update document copies if your ID or contact information has changed.
Note for Senior Household Members
If an elderly family member will need to carry their own bag, keep it under 7 kg (approximately 15 lbs). Prioritize medications, a lightweight thermal blanket, water, a headlamp with large-grip controls, and a whistle. Use a bag with a wide padded waist belt to take weight off the shoulders. A rolling duffel is also a valid option on flat-surface evacuations.